“The cars we drive say a lot about us.”
Have you heard that quote before? If it’s true, then keeping your car well maintained is just as important as brushing your teeth in the morning!
As your vehicle gets older, although the outside may still look as good as new, the inside might start to show unsightly wear and tear.
This means car upholstery repair. Now that can be an expensive ordeal. How can you save money? DIY of course!
Yes, although you can’t do all vehicle repairs yourself, there are many small fixes you can take care of. This will keep the interior of your vehicle looking fresher for longer.
What kind of upholstery damage can you fix yourself? Read on to find out 4 DIY tips for car upholstery repair.
1. Fixing Rips
When you’ve ripped your upholstery, it can be fairly easy to fix. But you first need to figure out how much pressure is in the affected area when you sit down.
You can use quick drying upholstery glue, as long as the material can be pulled together. Add a patch of similar material underneath, apply the glue, pull the seat material tightly over the patch and press down, allowing the glue to dry.
In some cases, glue won’t be strong enough and you’ll need to get your sewing needles out. Use a curved upholstery needle and extra strong thread, then stitch together. Make sure you use thread that’s the same color as your seats.
Once you’ve completely closed up the tear, you should use a fabric sealant to seal the sides of the repair. This will stop any edges from fraying in the future.
2. Patch Up Holes
Holes can be a little bit more fiddly, but the same principles apply. If they are small cigarette burns or damage from animals claws, a small homemade patch can be glued on to the area.
Cut two patches to size, slip one underneath the hole and one on top, then glue it on. Yes, it’s that easy! You can also get patch kits which use heat instead of glue, this is supposed to create a stronger bond when under pressure.
Always make sure to use a patch that’s at least 2 inches bigger than the actual hole, this will stop the hole from extending later on.
3. The Leather Look
Leather can’t be repaired as easily as cloth when it comes to tears and holes. But it does have its advantages. It generally lasts longer than cloth seats and can be regularly cleaned and buffed to keep them looking good.
For example, if you have a few scratches on your seats from keys in your pocket, or the buckles on the kid’s shoes, you can buff them out. Use high-quality leather conditioning cream, or spray lacquer when buffing.
You may be able to get a repair kit that is designed especially for your car’s interior. You can ask your car dealer for more information.
4. General Wear
If you notice your upholstery is becoming worn and faded in certain areas, you can use a seat protector to stop any future damage.
For example, if you use a baby car seat. The constant pressure of it can rub and rip your seats. Using an approved auto upholstery protector can save the seat from any more damage.
For more tips and hacks on car repairs and maintenance, go to Car Care Portal!
Evaluate the Damage
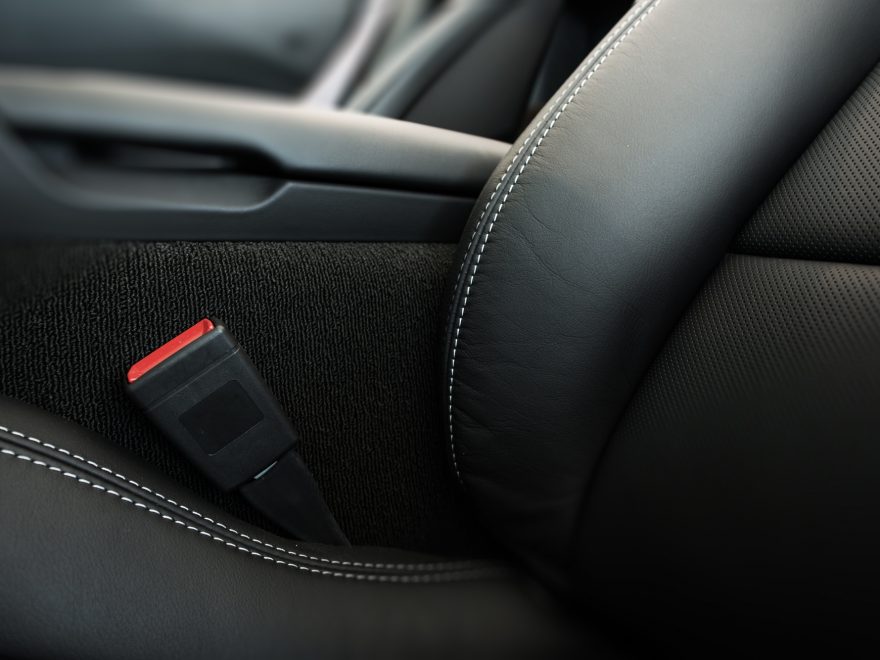
Before you start your fixes here and there, first make sure to assess the damage. If it extends to safety equipment, such as your seat belt, you’ll want to bring in a professional. If you DIY it, you might compromise the safety of your car.
And remember that although you can fix up your car, it’ll not look “just like new.” If the patch is bugging you, then it might be worth the investment to get it repaired.
DIY Car Upholstery Repairs
As you can see, repairing the upholstery in your car is a simple and attainable goal. It’s also cost-effective.
Are you interested in other ways to save money on the upkeep of your vehicle? Read our blog for some awesome tips and tricks of the trade!

