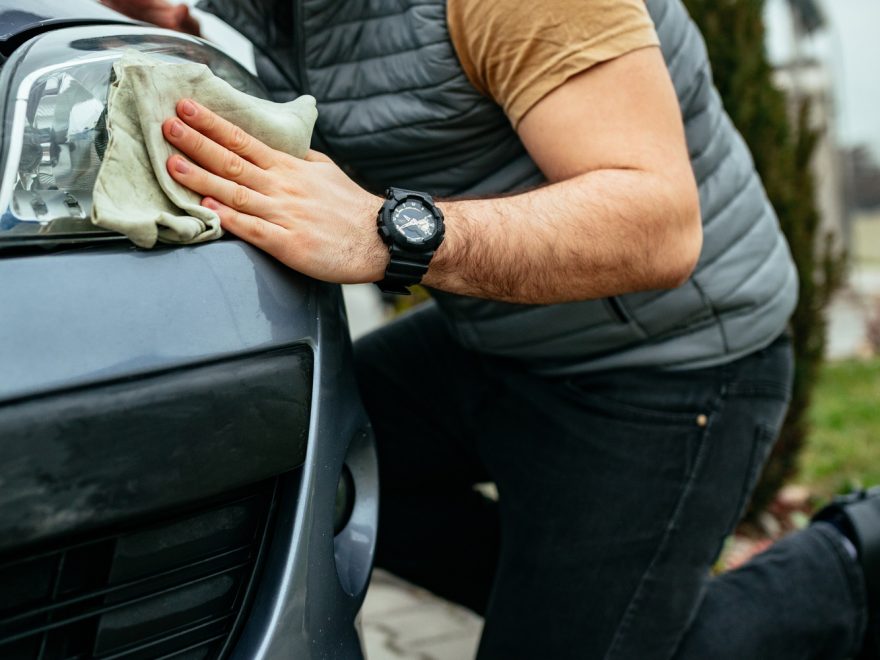
What’s worse than driving around super late at night? It’s driving around super late at night with foggy headlights.
Car manufacturers during the 80s made the transition from fragile glass to more durable plastic or polycarbonate headlight covers. But this introduced a new problem; the new material is susceptible to oxidation.
Your headlights gradually become cloudy over time as they’re exposed to agents that promote oxidation. These include ultraviolet radiation, debris, and airborne chemicals.
To restore and clean headlights, you have some options. In most cases, the cover doesn’t come off which means that you can’t just replace the cover, you’ll have to replace the entire headlight unit. Or you can buy a DIY kit that has no guarantee if it will work or not.
Both options will cost you some dough. Or you can just go look in your bathroom for some toothpaste.
You heard us right: toothpaste. The humble toothpaste may rival WD40 as the do-it-all tool in your kit. Continue reading to learn how you can restore clarity to your headlights cheap and easy with toothpaste.
This Isn’t Some Old Wives’ Tale or Remedy
Using toothpaste to clean your headlights actually has a scientific explanation. But you have to use actual toothpaste and not the gel variety. For best results, use whitening toothpaste.
Toothpaste, especially whitening toothpaste, contain abrasives. These include calcium carbonate (marble) powder and sodium bicarbonate (baking soda). These agents remove stains from your teeth by grinding and rubbing on the enamel.
With toothpaste, you can ‘sand’ down the imperfections of almost any surface. It will work on a scratched up CD, the screen of your phone, or dents and scratches on your car. And it will also work on the polycarbonate cover of your headlight.
Ask any professional how they go about restoring dirty headlights. Almost all will tell you that they use fine-grain sandpaper to grind down a thin layer of the headlight cover. This is essentially what toothpaste does.
How to Clean Headlights with Toothpaste
These steps should help you get started.
Prepare the Things You’ll Need
Gather the following: toothpaste, soft cloth, soap and water, masking tape, and car wax. As we said, whitening toothpaste is more effective, so use it if it’s available.
Wash the Surface with Soap and Water
Start by removing any dirt or grime on the surface of your headlights using soap and water. Rinse thoroughly and allow them to air-dry.
Cover the Perimeter with Masking Tape
Use masking tape to protect the areas surrounding your headlight. This will help avoid accidental scratching while cleaning with toothpaste.
Start Scrubbing
Apply some toothpaste on the soft cloth and go to work on your headlight.
The direction of your scrubbing doesn’t matter that much. You can do circular motions or up and down. The important thing is that you’re consistent and you cover all the area.
Rinse with Water
You should see some improvement after you wash off the toothpaste. Repeat scrubbing step as needed and rinse after. After you finish, allow the headlights to air-dry.
Apply Car Wax
Remember how we talked about UV rays? A light coat of car wax can help protect against the oxidation caused by UV. Follow the application of coat with another rinse with water.
Bring Back the Shine to Your Headlights
To restore and clean headlights, look no further than your medicine cabinet. And if it doesn’t work (if the damage is extensive or if there are deep scratches), it’ll only cost you a tube of toothpaste.
Did you like this article? If yes, we have tons of DIY posts such as this article on tire leak repair. Visit our blog for more DIY tips!

